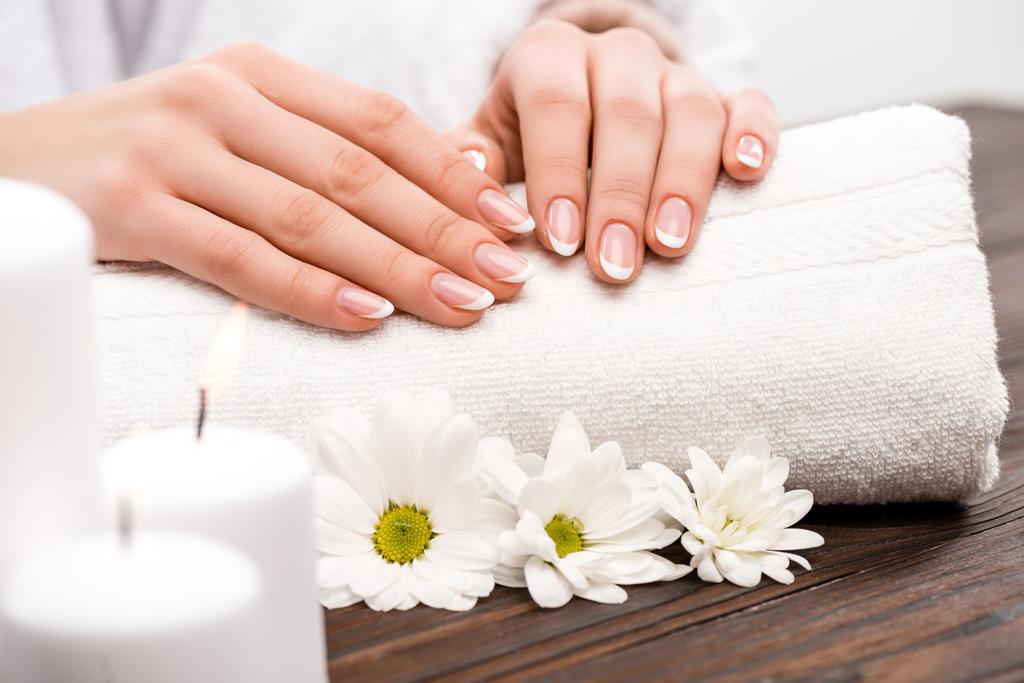
In this article, we will delve into the fascinating world of ombre nail art. Ombre, derived from the French word meaning “shaded,” is a popular nail art technique that involves blending colors seamlessly from one shade to another. It creates a stunning gradient effect on the nails, making them look stylish and eye-catching. Whether you’re a nail art enthusiast or someone looking to experiment with their nails, this tutorial will guide you through the process step by step. So let’s dive in and learn how to create amazing ombre nail art!
Materials Needed
Before we begin, gather the following materials:
- Nail polish in two or more shades (preferably complementary colors)
- A makeup sponge
- Clear tape or liquid latex
- Cotton swabs
- Nail polish remover
- A small bowl of water
- A top coat nail polish
- Nail art brush or toothpick (optional)
- Nail art decorations (optional)
Step-by-Step Tutorial
Step 1: Prepare Your Nails
Start by preparing your nails for the ombre nail art. Remove any old nail polish and shape your nails to your desired length and shape. Apply a base coat to protect your nails and allow it to dry completely.
Step 2: Choose Your Colors
Select two or more nail polish shades that you want to use for your ombre design. It’s best to choose colors that complement each other and create a beautiful gradient effect.
Step 3: Protect Your Skin
To avoid getting polish on your skin, apply clear tape or liquid latex around your nails. This will make the cleanup process easier later on.
Step 4: Paint the Makeup Sponge
Take the first nail polish color and paint a strip of polish directly onto the makeup sponge. Make sure the strip is wide enough to cover your entire nail. Repeat this step with the other nail polish colors, creating a gradient effect on the sponge.
Step 5: Dab the Sponge onto Your Nails
Gently press the sponge onto your nail, starting from the cuticle and moving towards the tip. Dab the sponge lightly to transfer the polish onto your nail. Repeat this step for each nail, reapplying nail polish to the sponge as needed.
Step 6: Blend the Colors
Once the polish is transferred onto your nails, use a gentle dabbing motion with the sponge to blend the colors together. This will create a seamless gradient effect. Continue blending until you achieve the desired look.
Step 7: Clean Up
Carefully remove the tape or liquid latex from around your nails. Use a cotton swab dipped in nail polish remover to clean up any excess polish on your skin or cuticles.
Step 8: Finishing Touches
Apply a top coat nail polish to seal in the design and add shine. This will also help the ombre colors blend together seamlessly. Allow your nails to dry completely before proceeding.
Step 9: Optional Nail Art Decorations
If you want to take your ombre nail art to the next level, you can add some nail art decorations. Use a nail art brush or a toothpick to create designs like dots, lines, or swirls. Get creative and let your imagination run wild!
Conclusion
Congratulations! You’ve successfully created amazing ombre nail art. With a few simple steps, you can achieve a stunning gradient effect on your nails. Experiment with different color combinations and unleash your creativity. Ombre nail art is a versatile and trendy style that will make your nails stand out. So go ahead and rock those fabulous ombre nails with confidence!
FAQs
Q: How long does ombre nail art last?
A: With proper application and care, ombre nail art can last up to two weeks.
Q: Can I use more than two colors for ombre nail art?
A: Absolutely! You can use as many colors as you like to create a unique ombre design.
Q: Can I achieve ombre nails without a sponge?
A: While using a sponge is the most common method, you can also achieve a similar effect using a small brush or even a makeup applicator.
Q: Can I use gel polish for ombre nail art?
A: Yes, gel polish can be used for ombre nail art. Follow the same steps but cure each layer of gel polish under a UV or LED lamp.
Q: How do I remove ombre nail art?
A: To remove ombre nail art, soak a cotton ball in nail polish remover, place it on your nail, and wrap it with aluminum foil. After 10-15 minutes, remove the foil and gently push off the remaining polish with a cuticle pusher.


